
A motion sensor light that will not turn on does not always need a new sensor. The cause may be a depleted battery, a failed lamp, the selected operating mode, or a daylight setting. First establish whether the light works manually, then test automatic operation under the conditions described in the model’s instructions.
Quick answer: start with power, mode and daylight settings
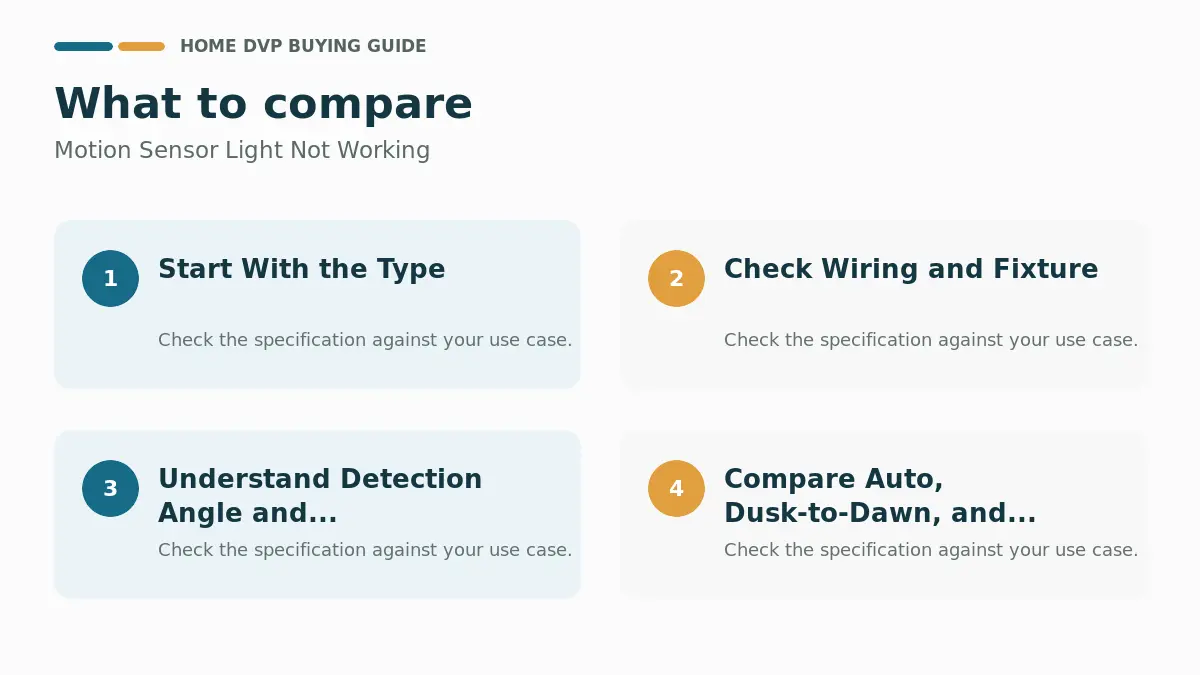
Check the normal user-accessible power control and, for battery lights, the battery condition. If the light works manually but not automatically, check occupancy versus vacancy mode, daylight detection and the sensor’s field of view. If it stays on, allow its full timeout to expire without entering the detection area. Use the manufacturer’s reset procedure only after recording the current settings.
Safety first: Do not remove a hardwired switch, open a fixture or touch wiring while troubleshooting with the power on. Burning smells, moisture inside electrical parts, damaged insulation or repeated breaker trips need a qualified electrician. Do not keep resetting a breaker or bypass the sensor to make the light work.
Match the symptom to the next check
| Symptom | First useful check | What the result tells you |
|---|---|---|
| Does not turn on manually or automatically | Check accessible power controls, batteries and the correct replacement lamp where user-replaceable. | The problem is not necessarily motion detection. Establish power and lamp operation before buying a sensor. |
| Works manually, but not when you enter | Check vacancy/manual-on mode, daylight settings and the detection area. | The chosen mode or test conditions may explain the behavior. |
| Stays on after you leave | Check manual override and wait out the selected timeout without further movement. | A timer or override can look like a failed sensor. |
| Turns off while the room is occupied | Check line of sight, the timeout and permitted sensitivity settings. | Small movements may not be detected from the current position. |
| Activates unexpectedly outside | Observe the detection area and check aiming against the installation manual. | Coverage may extend beyond the area you want to monitor. |
| Flickers or behaves differently after a bulb change | Confirm lamp type, dimming compatibility and load requirements for the exact control. | A control/lamp mismatch needs checking before replacing another component. |
1. Identify the light and the conditions that trigger the fault
Write down the model number from accessible documentation or the product label; do not dismantle electrical equipment just to find it. Distinguish an outdoor floodlight, an indoor occupancy switch, a plug-in light and a battery-powered light. Their reset instructions, weather protection and power requirements are not interchangeable.
Record whether the fault started after a power interruption, bulb change, settings adjustment or wet weather. Test one variable at a time. A short record of the mode, ambient light and observed behavior is more useful than repeatedly changing sensitivity, timeout and aiming together.
2. Check the operating mode before resetting anything
Some switches can operate in vacancy mode: you turn the light on manually and the switch turns it off automatically. That is different from occupancy mode, which can switch the light on when motion is detected. Lutron’s Maestro programming guide explains model-dependent settings including timeout and ambient-light behavior.
A daylight threshold may intentionally prevent activation in a bright room. Test under the conditions in your manual instead of assuming a daytime test proves a fault. If the light has manual override, follow its specific instructions to return to automatic operation; there is no single wall-switch sequence that applies to every brand.
3. Test coverage and timeout separately
Check the sensor window for surface dirt and any object blocking its view. Clean only as directed by the manufacturer. Walk through the intended approach area and note where the light activates. For an adjustable outdoor sensor, stay within its specified mounting and aiming limits rather than simply turning sensitivity to maximum.
To test switch-off behavior, leave the detection area and time the full delay. Re-entering to check the light can restart the timer. Lutron’s occupancy-switch troubleshooting guide distinguishes timeout and detection problems; use the instructions matching your own model rather than copying another sensor’s settings.
4. Check compatibility after a lamp or fixture change
Confirm that the replacement lamp is approved for the fixture and compatible with the sensor or dimmer. Compare the control’s supported load types and minimum/maximum ratings, not just the bulb’s brightness. A dimmable LED label alone does not establish compatibility with every control.
Leave checks involving neutral conductors, grounding, multi-location wiring or line voltage to an electrician. A single-pole occupancy switch is not automatically a replacement for a multi-location control. For broader planning, see our lighting and fans guides.
When to repair, replace or call an electrician
- Adjust settings first when manual operation is normal and the behavior matches a mode, timeout or coverage issue.
- Replace a user-serviceable part only when its condition and compatibility justify doing so, following the manufacturer’s instructions.
- Arrange professional diagnosis when hardwired equipment remains unresponsive, the fault is intermittent, or the work would require opening electrical connections.
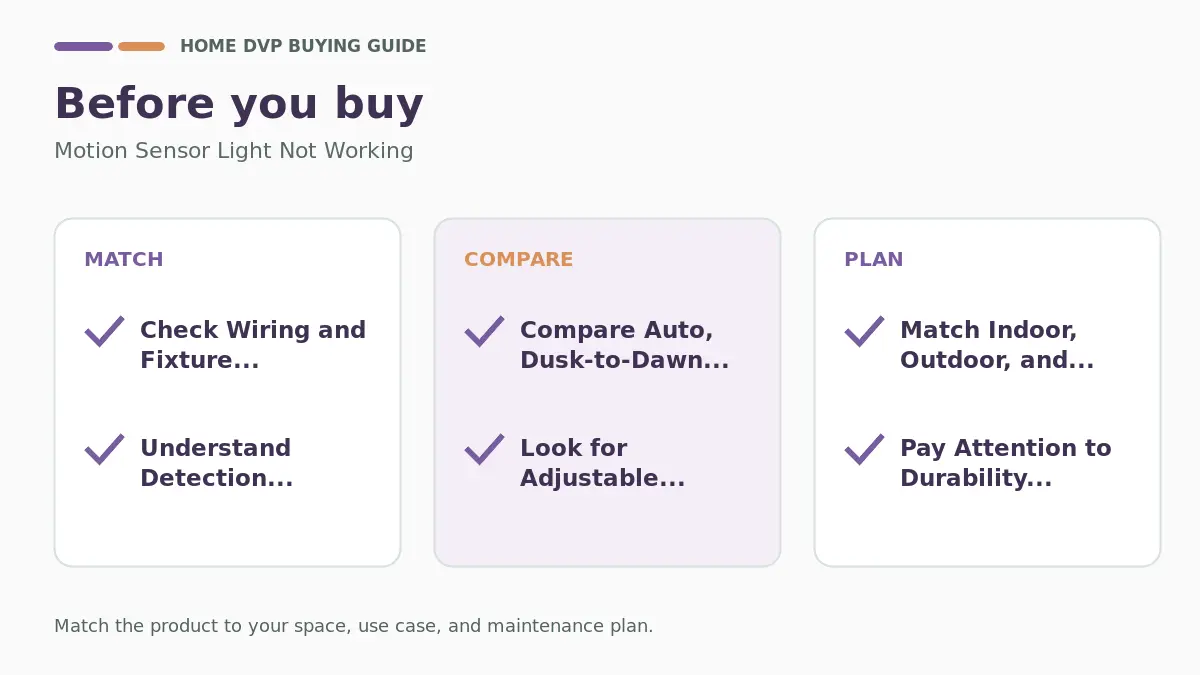
If replacement is needed, compare indoor/outdoor rating, control type, installation requirements and lamp compatibility. A new detector cannot fix a separate supply or fixture problem. Our home-security guides cover related monitoring choices.
Frequently asked questions
Why does my motion sensor light stay on all night?
Check manual override, the selected delay and repeated detection in the monitored area. Observe one complete timeout with no new movement. A continuing problem after the model-specific checks calls for diagnosis, not an assumption that the sensor itself has failed.
Why does the switch work manually but not automatically?
Vacancy mode, a daylight threshold or limited detection coverage can explain this difference. Check these settings against the manual before replacing the switch.
Should I buy a replacement sensor first?
No. Identify the fault and the exact equipment first. A replacement must match the installation, electrical load and environment; otherwise it may leave the original problem unresolved.
How we prepared this guide
This is a research-based troubleshooting guide, not a report of hands-on testing. The decision table organizes observations a homeowner can record before seeking model-specific advice. Lutron examples explain those products, not every motion sensor. The equipment manual and qualified electrical advice take precedence.
Optional replacement products, after diagnosis
The following retailer-linked products serve different installations. Treat them as options to compare after identifying the fault, not a prescribed repair. Confirm compatibility and current specifications before purchase. See our review methodology and affiliate disclosure.

Pros
- Retains personalized settings during power interruptions
- Offers reliable motion sensing up to 30 feet for up to 900 square feet of coverage
- Coordinates with other Maestro series components for consistent home aesthetics
- Supports vacancy mode suitable for bedrooms or areas with pets
Cons
- Restricted to single-pole wiring configurations
- Multiple lights connected will operate simultaneously without individual control
- Coordinating wallplate must be purchased separately
The Lutron Maestro MS-OPS2-AL occupancy and vacancy sensor switch automates light control in residential areas including bathrooms, garages, laundry rooms, and closets. It turns lights on automatically when motion is detected and off after a selected delay once the space is vacated.
Proprietary XCT sensing technology identifies fine movements such as typing or reading to avoid premature shutoff. Patented ambient light detection prevents activation when sufficient daylight is present, supporting energy conservation across various bulb types including LED and CFL.
The unit features a compact design that aligns with other Maestro family products for visual consistency. Installation uses either ground or neutral wire and completes in approximately 15 minutes for single-pole applications only.
Homeowners benefit from programmable off delays of 1, 5, 15, or 30 minutes along with the option to switch to manual-on vacancy mode. This setup suits households with children or pets where lights might otherwise remain on unintentionally.
Limitations include restriction to single-pole use and simultaneous control of all connected fixtures. The product suits DIYers seeking straightforward automation in smaller rooms while those needing three-way switching or separate zone control may consider alternative models.
Specifications
| Operation Mode | Automatically,Off |
|---|---|
| Current Rating | 2 Amps |
| Operating Voltage | 120 Volts |
| Contact Type | Normally Open |
| Connector Type | Screw |
| Switch Type | Light Sensing |
| Terminal | Screw |
| Circuit Type | 1-way |
| Mounting Type | Wall Mount |
| Actuator Type | Push Button |
Verify the current product variation before purchase; specifications may change.
Best For / Avoid If
Best for buyers prioritizing
- Retains personalized settings during power interruptions
- Offers reliable motion sensing up to 30 feet for up to 900 square feet of coverage
- Coordinates with other Maestro series components for consistent home aesthetics
Consider another option if
- Restricted to single-pole wiring configurations
- Multiple lights connected will operate simultaneously without individual control
- Coordinating wallplate must be purchased separately